A Deep Dive Into The Splatoon 1 Map Roster: A Legacy Of Ink-Stained Battlegrounds
A Deep Dive into the Splatoon 1 Map Roster: A Legacy of Ink-Stained Battlegrounds
Related Articles: A Deep Dive into the Splatoon 1 Map Roster: A Legacy of Ink-Stained Battlegrounds
Introduction
In this auspicious occasion, we are delighted to delve into the intriguing topic related to A Deep Dive into the Splatoon 1 Map Roster: A Legacy of Ink-Stained Battlegrounds. Let’s weave interesting information and offer fresh perspectives to the readers.
Table of Content
A Deep Dive into the Splatoon 1 Map Roster: A Legacy of Ink-Stained Battlegrounds

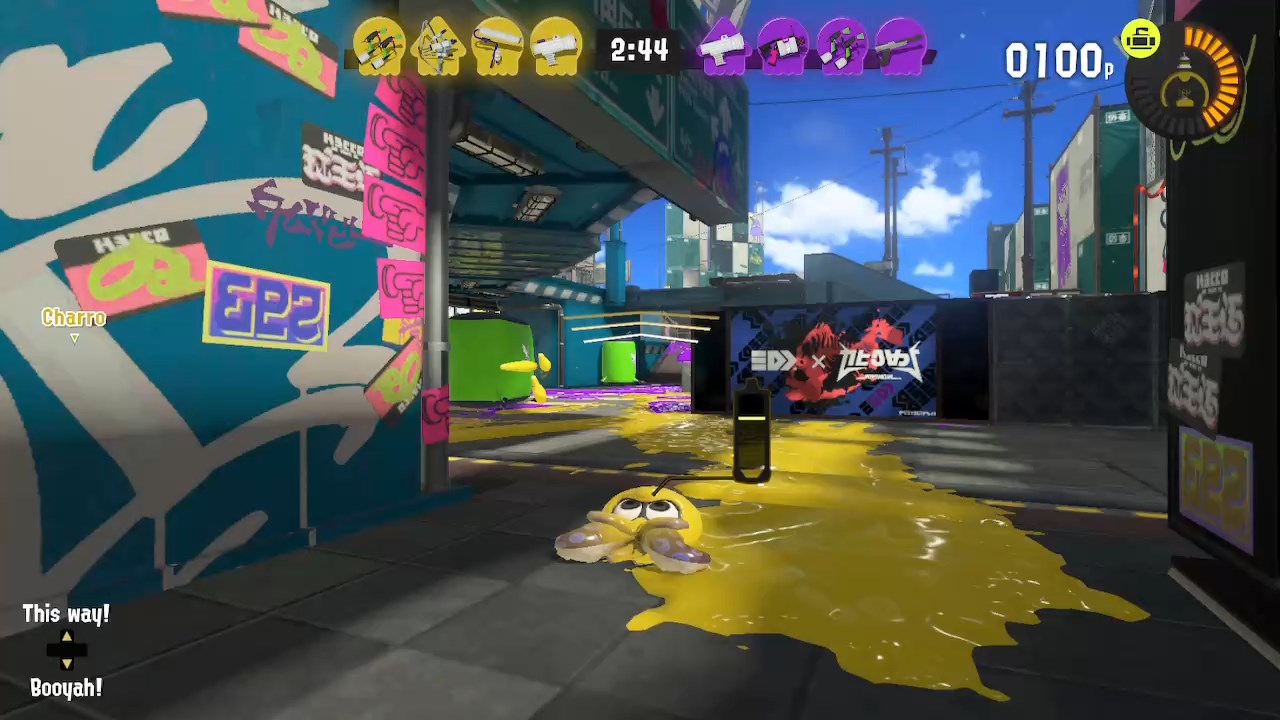
Splatoon, the vibrant and chaotic ink-slinging shooter, captivated players with its unique gameplay and a diverse roster of maps that served as the battlegrounds for countless turf wars and ranked battles. This article delves into the intricate design and lasting impact of the maps featured in the original Splatoon, exploring their unique features, strategic nuances, and enduring legacy within the Splatoon community.
A Tapestry of Ink-Stained Battlefields:
Splatoon 1 introduced players to a captivating array of 10 distinct maps, each meticulously crafted to offer a unique set of challenges and opportunities. These maps transcended mere battlefields, becoming iconic locations within the Splatoon universe, etched into the memories of countless players.
1. The Ink-Stained Streets of "Walleye Warehouse":
This map, a bustling warehouse teeming with stacked crates and labyrinthine corridors, became a staple of Splatoon 1. The map’s central area, a wide-open space surrounded by crates, offered a dynamic battleground for close-quarters combat. Players could utilize the crates for cover, flanking maneuvers, and strategic positioning. The warehouse’s upper levels provided vantage points for long-range weapons, adding another layer of tactical complexity. Walleye Warehouse’s versatility made it a popular choice for both casual and competitive play, fostering a variety of strategic approaches.
2. The Urban Jungle of "Port Mackerel":
Port Mackerel, a bustling port city with a mix of open areas and tight alleyways, presented players with a demanding environment. The central plaza, a large open space, allowed for aggressive pushes and strategic flanking maneuvers. However, the surrounding alleyways provided cover for those seeking a more defensive approach. The map’s verticality, with its elevated platforms and catwalks, offered opportunities for flanking maneuvers and strategic positioning. Port Mackerel’s dynamic layout made it a challenging and rewarding map for seasoned players.
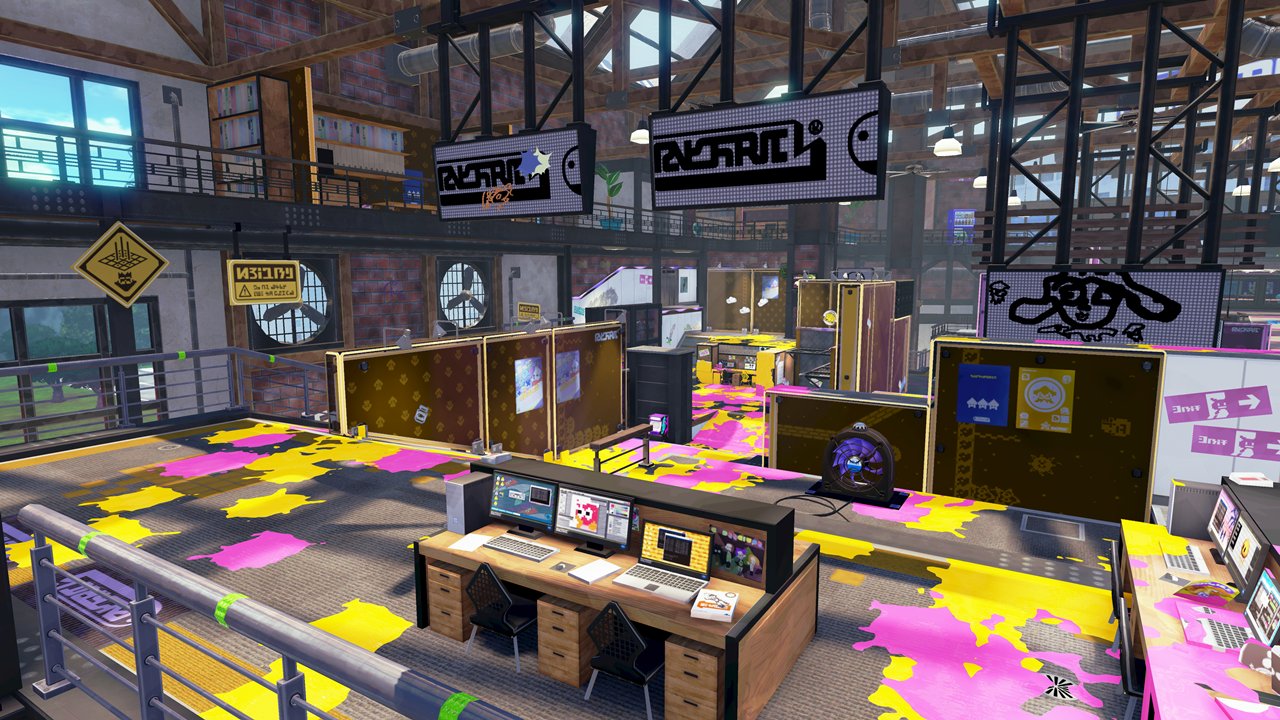
3. The Industrial Enclave of "Ancho-V Games":
Ancho-V Games, a sprawling factory complex with an industrial aesthetic, presented players with a unique set of challenges. The map’s central area, a large open space with a central platform, offered opportunities for both aggressive pushes and strategic positioning. The surrounding areas, featuring narrow corridors and elevated platforms, allowed for flanking maneuvers and strategic retreats. Ancho-V Games’ complex layout and diverse terrain made it a challenging map for both beginners and experienced players.
4. The Undersea Paradise of "Arowana Mall":
Arowana Mall, a vibrant underwater shopping center, offered a unique and visually stunning battleground. The map’s central area, a large open space with multiple levels, allowed for diverse gameplay styles. The surrounding areas, featuring narrow corridors and hidden passages, provided opportunities for flanking maneuvers and strategic retreats. Arowana Mall’s unique design and vibrant atmosphere made it a popular choice for casual and competitive play.
5. The Urban Oasis of "Moray Towers":
Moray Towers, a towering skyscraper overlooking the urban landscape, presented players with a demanding and rewarding map. The map’s central area, a large open space with multiple levels, allowed for aggressive pushes and strategic positioning. The surrounding areas, featuring narrow corridors and hidden passages, provided opportunities for flanking maneuvers and strategic retreats. Moray Towers’ verticality and challenging layout made it a popular choice for competitive play.
6. The Industrial Labyrinth of "Blackbelly Skatepark":
Blackbelly Skatepark, a sprawling skatepark with a mix of open areas and tight corners, offered a unique and challenging battleground. The map’s central area, a large open space with a central ramp, allowed for aggressive pushes and strategic positioning. The surrounding areas, featuring narrow corridors and hidden passages, provided opportunities for flanking maneuvers and strategic retreats. Blackbelly Skatepark’s diverse terrain and challenging layout made it a popular choice for casual and competitive play.
7. The Suburban Haven of "Camp Triggerfish":
Camp Triggerfish, a suburban neighborhood with a mix of open areas and tight corners, offered a unique and challenging battleground. The map’s central area, a large open space with a central building, allowed for aggressive pushes and strategic positioning. The surrounding areas, featuring narrow corridors and hidden passages, provided opportunities for flanking maneuvers and strategic retreats. Camp Triggerfish’s diverse terrain and challenging layout made it a popular choice for casual and competitive play.
8. The Underwater City of "Mahi-Mahi Resort":
Mahi-Mahi Resort, a sprawling underwater resort with a mix of open areas and tight corners, offered a unique and challenging battleground. The map’s central area, a large open space with a central fountain, allowed for aggressive pushes and strategic positioning. The surrounding areas, featuring narrow corridors and hidden passages, provided opportunities for flanking maneuvers and strategic retreats. Mahi-Mahi Resort’s diverse terrain and challenging layout made it a popular choice for casual and competitive play.
9. The Urban Warfare Zone of "The Reef":
The Reef, a sprawling urban environment with a mix of open areas and tight corners, offered a unique and challenging battleground. The map’s central area, a large open space with a central bridge, allowed for aggressive pushes and strategic positioning. The surrounding areas, featuring narrow corridors and hidden passages, provided opportunities for flanking maneuvers and strategic retreats. The Reef’s diverse terrain and challenging layout made it a popular choice for casual and competitive play.
10. The Urban Oasis of "Starfish Main":
Starfish Main, a sprawling urban environment with a mix of open areas and tight corners, offered a unique and challenging battleground. The map’s central area, a large open space with a central fountain, allowed for aggressive pushes and strategic positioning. The surrounding areas, featuring narrow corridors and hidden passages, provided opportunities for flanking maneuvers and strategic retreats. Starfish Main’s diverse terrain and challenging layout made it a popular choice for casual and competitive play.
Beyond the Battlefield: The Enduring Legacy of Splatoon 1 Maps
The maps of Splatoon 1, with their diverse layouts and strategic nuances, contributed significantly to the game’s enduring popularity. They provided a foundation for the game’s unique gameplay, fostering a dynamic and engaging competitive scene. The maps’ memorable designs and iconic locations cemented their place in the Splatoon universe, becoming a source of nostalgia and shared memories for countless players.
Frequently Asked Questions (FAQs):
Q: What makes Splatoon 1 maps so unique?
A: Splatoon 1 maps are distinguished by their diverse layouts, strategic nuances, and memorable designs. Each map offers a unique set of challenges and opportunities, encouraging players to adapt their strategies and playstyles. The maps’ vibrant aesthetics and iconic locations further contribute to their unique character, making them memorable and beloved by players.
Q: How did Splatoon 1 maps influence the game’s competitive scene?
A: Splatoon 1 maps played a crucial role in shaping the game’s competitive scene. The maps’ diverse layouts and strategic nuances fostered a dynamic and competitive environment, encouraging players to master different strategies and playstyles. The maps’ popularity and enduring legacy continue to influence the competitive scene in Splatoon 2 and Splatoon 3, with many of the original maps returning in updated forms.
Q: What are some tips for playing on Splatoon 1 maps?
A: Mastering Splatoon 1 maps requires a combination of tactical awareness, strategic thinking, and an understanding of the map’s unique features. Players should focus on learning the map’s layout, identifying key chokepoints, and understanding the optimal positions for different weapon types. Utilizing flanking maneuvers, strategic retreats, and effective communication with teammates are crucial for success.
Conclusion:
The maps of Splatoon 1 serve as a testament to the game’s innovative design and enduring appeal. Their diverse layouts, strategic nuances, and memorable designs continue to captivate players, fostering a dynamic and engaging competitive scene. The enduring legacy of Splatoon 1 maps reflects their lasting impact on the Splatoon universe, cementing their place as iconic locations within the game’s rich history. As the Splatoon franchise continues to evolve, the maps of Splatoon 1 will remain a source of nostalgia and a reminder of the game’s groundbreaking gameplay and unforgettable experiences.


Closure
Thus, we hope this article has provided valuable insights into A Deep Dive into the Splatoon 1 Map Roster: A Legacy of Ink-Stained Battlegrounds. We hope you find this article informative and beneficial. See you in our next article!
Leave a Reply